Sunday 20 March 2011

Do you remember Multi-Coloured Swap Shop?

So, my question is do you remember Noel Edmunds and Swap Shop at the Weekend ? Because I just feel like I have been doing the Automotive equivalent!

When I built my first Corvette I started by contacting the recognised UK expert on all things Corvette, Tom Falconer at Clairmont Corvette. He actually gave me the lead that found that first Corvette and encouraged my restoration / conversion and even in the run up to the 2005 Goodwood Revival allowed me to queue jump him to grab the last C1 Corvette windscreen in the country to replace one I cracked in testing.

So, I had kept in touch with Tom and regularly looked at his web site http://www.corvette.co.uk/ . And it was whilst looking on there that I spotted a set of 5.5inch wide steel wheels. 

These may not sound very exciting in a world full of 8-10" alloy wheels on every road car driving around today, but for this project they are very important. The standard Corvette wheel was only 5" wide and the 5.5" was a very rare option that is nearly impossible to find (and not being reproduced). So Tom's set of 5 wheels and tyres were just what I needed.

A quick phone call to Tom secured them with my name on them but also put in place a cunning plan. You see between the first Corvette and now this one, I was beginning to build up a substantial collection of unused, spare and duplicate parts. All of which, Tom expressed interest in taking off my hands in the form of a swap (at last you see the link to Noel and Saturday morning kids TV!).

So, I grabbed up a van load of items of no use to me and headed south to Snodlands to see Tom, pick up my wheels and see what he made of my bits.


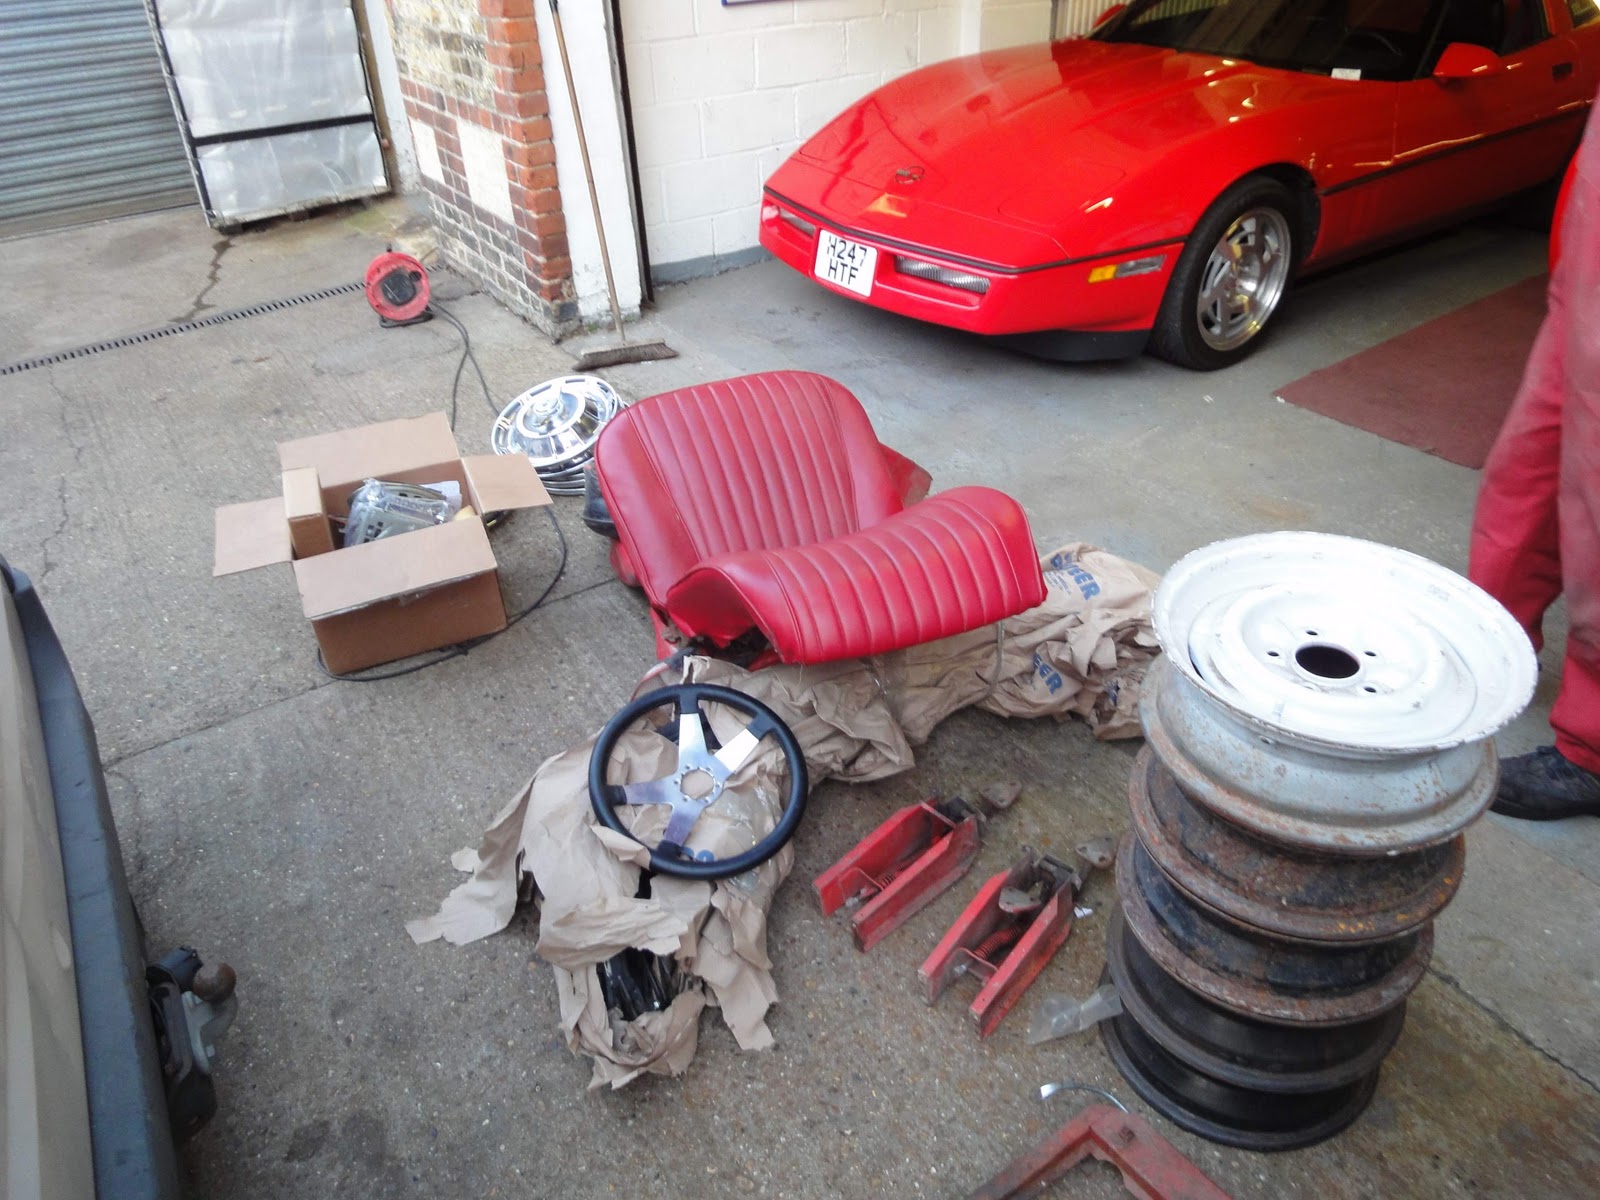
 So, as you can perhaps see, I had a couple of seats, a pile of (standard) wheels, I refurbished 1962 radio, a servicable soft-top and (not in the pictures) a 2x4bbl intake manifold and carbs (that when sent from the USA had been cracked and that I had re-welded).

What I came away with was this very nice set of precious wheels (and new tyres);


plus a bundle of cash as Tom was convinced he could sell on my items for more than he was asking for his wheels!!

So it was smiles all around and I was humming a happy song the whole (300miles) home!

Tuesday 15 March 2011

The Saga of the Seats Part 1

So as I said in my previous entry, the next step in the build is going to be to select and get a set of FIA racing seats to fit into the rather cramped cockpit of the Corvette.

I had my head in all of the catalogues for a few days and came to the conclusion that the perfect seat was going to be the Racer Pro by COBRA Seats. They seemed to be the most compact seats available in terms of external dimensions and were even relatively well priced.


But a little warning voice in the back of my mind said I should see them for myself first....

It was a lucky thing I did because once I (tried) to sit in them I found out that not only (to coin a phrase) did my bum look big in this, but it wouldn't fit in no matter how hard I wriggled and pushed, my hip bones were hard against the seat shell and neither were going any where! I promise you, my consumption of Christmas Turkey and New Year Curry had no impact on this, it is entirely a skeletal issue!

So, it was over to plan B and a re-check of the dimensions inside the Corvette Cockpit. The big problem seems to be the width across the 'wings' of the seat at shoulder height so I went back to the car and the catalogues to see what else could fit. The result was that I needed to go and try another COBRA seat, this time the Monaco Pro which as a bonus is actually cheaper, though a bit heavier as it is a steel frame seat rather than a composite shell.


On this occasion, I went to MSAR and saw Malcom Sanders http://www.msar-safety.com/default.asp. To my relief, my arse felt nicely supported within the seat this time! Whilst there, I took the opportunity to look at harnesses as well and settled on a set of excellent Schroth 6 point belts in red.

Having picked the seat, my thoughts then turned to the aesthetics...
The colour was easy, Red to match the rest of the interior. I also quickly decided that vinyl would be a better look than fabric (and Marc Pigeon at COBRA recommended a great leather grain vinyl). What was worrying me though was having a Corvette with a huge COBRA written on the seats. So after a bit of a chat, it was decided to have a custom embroidered seat with the words "Corvette by COBRA" on the headrest. It then turned out to be incredibly hard to find the script for the Corvette lettering. In the end, a lot of searching on the Internet found a font that was close and then I had to modify in Paint to make a near perfect match.


So the order was placed (and COBRA offered to do the embroidery for free!) Now all I have to do is sit back (sorry for the pun) and wait for them to be made and delivered!


Wednesday 2 March 2011

The Great Unpacking

So with the Corvette and all the boxes back at the Mill, it was time to see just what I had bought in a bit more detail.


Just playing around with my cameras Panorama mode! 


And I have to say that the car was in excellent condition. There was no signs of any body damage and not even any significant  gel coat cracks or crazing. The only slight downside was that there was a crack in the windscreen. From past experience I know that replacing it means dismantling the whole screen surround.

Next it was time to move on to the parts and now it felt like a second Christmas, boxes and boxes of parts to open and check out.


One of the down sides of not having stripped down the car myself is that I can't be 100% certain that I actually have every part and bracket I'll need to rebuild the car. But at least having previously rebuilt my 1960 Corvette, I can recognise most of the parts so I'll know where they're going to go and which are not actually going to be needed to build my race car (more on that later).

From that past experience, I know that what I want to do as soon as possible is to unbolt the body from the chassis frame so that the body can go off to be painted whilst I restore and prepare the running gear. It is so much easier to do the chassis work including fitting the engine and gearbox without the body and then dropping it back on towards the end of the job.

However, before the body can be removed the roll cage needs to be custom made as this bolts through the body to the frame and needs to be a close fit to the hardtop. Amazingly for an American car (which everyone assumes to be huge), being 6' 1" tall I really struggled to fit into my original 1960 car and this one will I'm sure be exactly the same. So my next step is to find myself the thinnest lowest FIA approved seats I can in place of the original seats which have my knees up against the underside of steering wheel and my head hard against the headlining even without my helmet on.